Quartz2D简介
- Quartz 2D是一个二维图形绘制引擎,支持iOS环境和Mac OS X环境。
- Quartz 2D以PDF的规范为基础的图形库,用来绘制二维文字和图形,允许相同的绘图指令在任何装置上,使用可以得到的最佳分辨率,产生相同的输出。
- Quartz 2D API可以实现许多功能,如基于路径的绘图、透明度、阴影、颜色管理、反锯齿、PDF文档生成和PDF元数据访问等。
- Quartz 2D API是Core Graphics框架的一部分,因此其中的很多数据类型和方法都是以CG开头的。会经常见到Quartz 2D(Quartz)和Core Graphics两个术语交互使用。
- Quartz 2D与分辨率和设备无关,因此在使用Quartz 2D绘图时,无需考虑最终绘图的目标设备。
注:
本文内容均来自, 我自己学习过程中的整理, Quartz2D介绍部分来自 Rynn的博客 具体更详细的Quartz2D介绍可以点击链接查看, 本博文主要以实战代码为主.
学习Quartz2D必须了解的方法 - (void)drawRect:(CGRect)rect
|
|
- 对View进行绘制, 必须在这个方法内进行codeing.
- 因为只有在这个方法中才能获取到跟View相关联的上下文.(系统内部会创建好上下文, 我们只需要直接get获取就好)
- 当View即将显示的时候, 会自动调用这个方法.
- (void)drawRect:(CGRect)rect中的rect参数, 可以获取到当前View的CGRect
准备
- 新建项目, 在项目里面创建一个UIView.
- 自定义一个继承UIView的类, 并且让创建出来的UIView的类型, 继承自你刚刚自定义的那个类.
- 接下来我们就可以在刚刚自定义的类,
- (void)drawRect:(CGRect)rect的方法中愉快的玩耍了. - 一般新建一个继承自UIView的类, 在.m中会自动帮我们生成好
- (void)drawRect:(CGRect)rect方法, 我们只需要打开就好.
|
|
画线
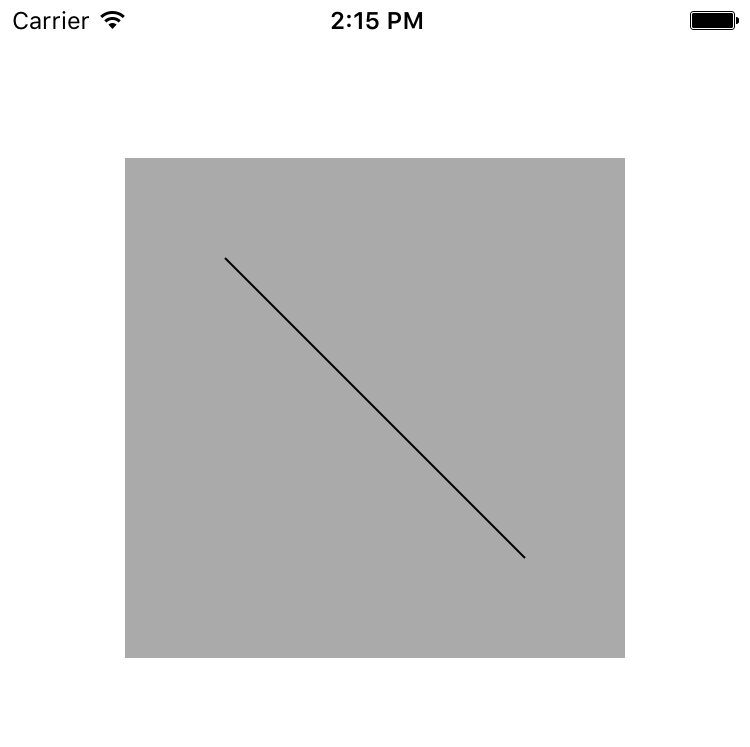
画一条直线
|
|
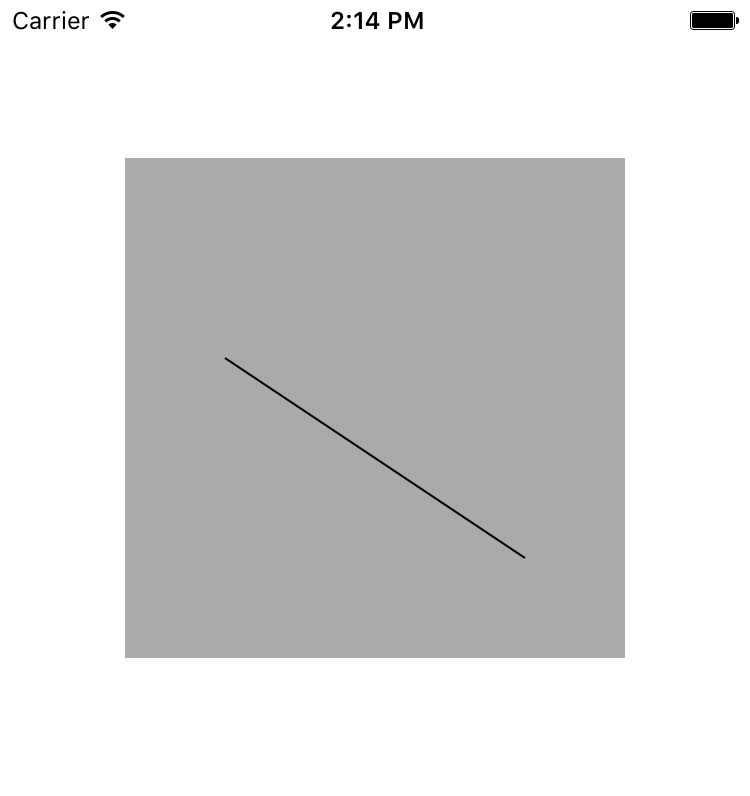
- 两点成一线, 所以我们设置起点, 设置终点, 就可以画线
CGContextAddPath(ctx, path.CGPath);因为这个函数需要接收的参数是CGPathRef, 而我们创建的并不是, 所以我们需要调用UIBezierPath类的- (CGPathRef)CGPath方法, 把UIBezierPath类型转换成CGPathRef.
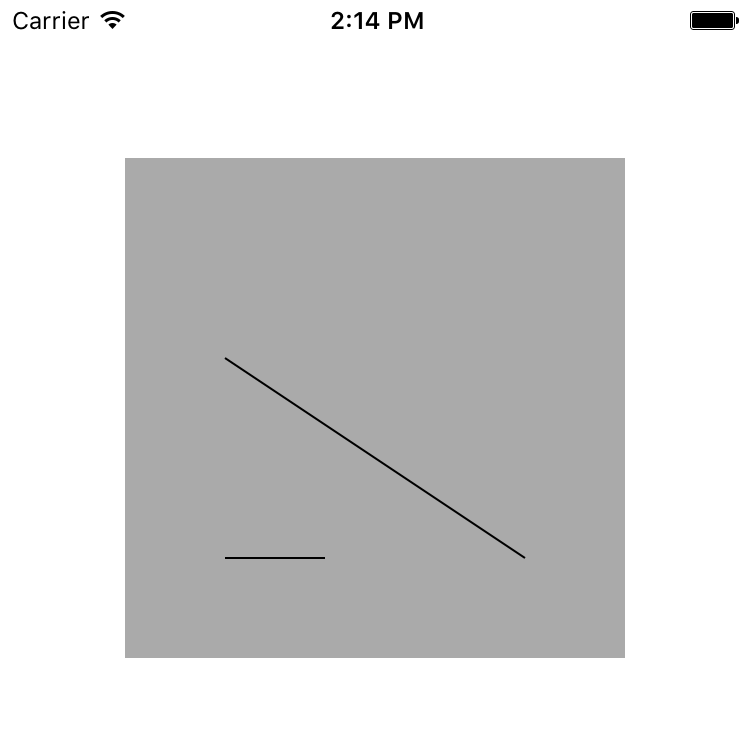
画两条直线
想要实现画两条或多条直线的方法, 有两种方式.
第一种
|
|
- 第二种
|
|
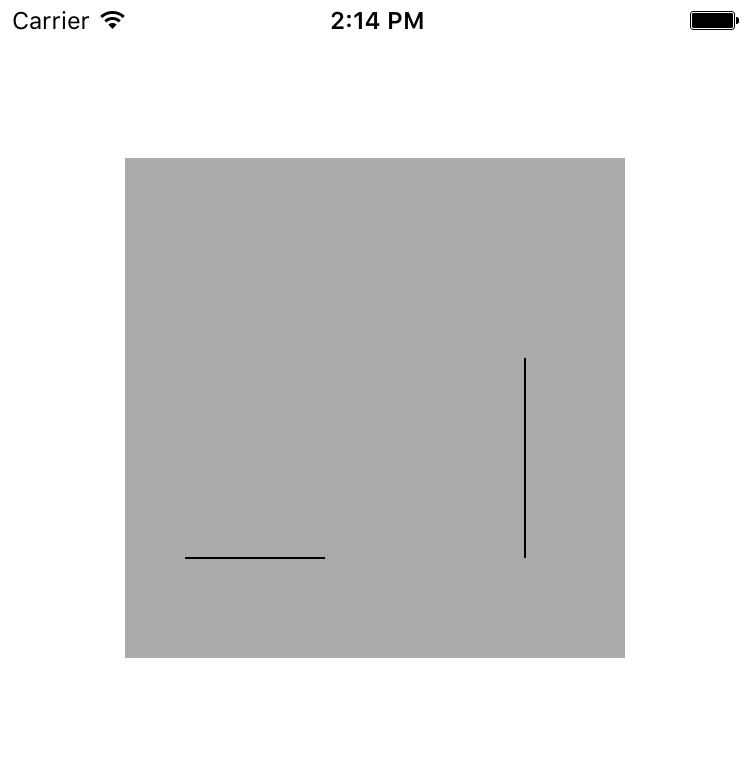
- 对比完两种方法, 第二种方法比第一种方法多了几个步骤, 1.重新创建新的路径 2.设置起点, 终点 3.添加路径到上下文.
- 从实用角度来讲, 我个人更倾向于第二种,
自己的路径, 自己的路径对象进行管理, 从代码行数角度来讲, 当然是第一种好. - 上面所讲的方法是用来绘制
平行或无连接关系的线段.
画有 连接关系 的线段和设置线段的属性
|
|
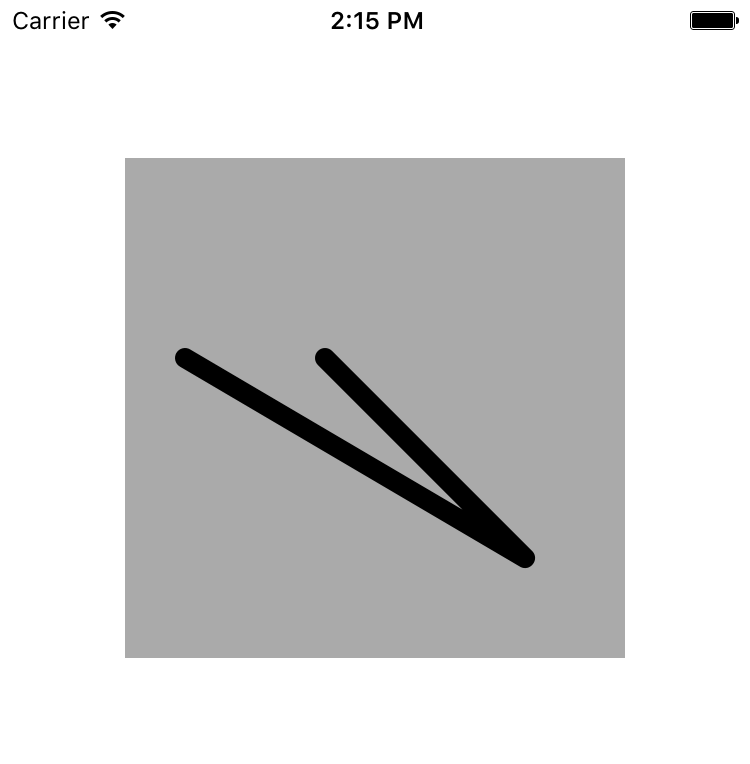
- 如果画的线段是连接在一起的, 可以直接设置第二根线的终点, 不必重现设置起点.
- 设置线条
两端的样式和连接处的样式的参数是枚举, 剩下的样式请自行尝试.
UIBezierPath
- 因为UIBezierPath类里面已经帮我们封装好了很多东西, 所以绘制线段有更快捷的方法.
|
|
总结
|
|
绘制基本图形
矩形和正方形
正方形
|
|

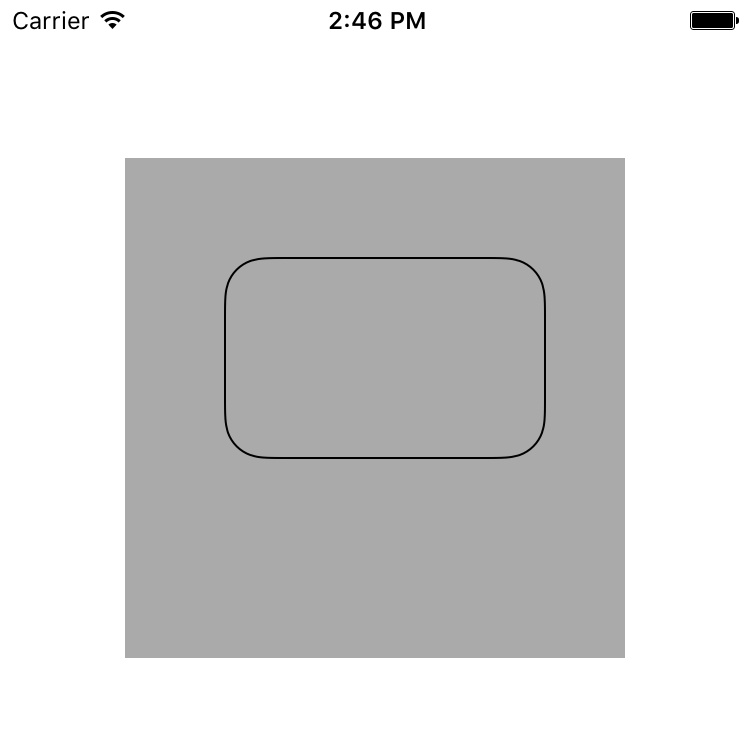
圆角矩形
|
|
圆型
|
|
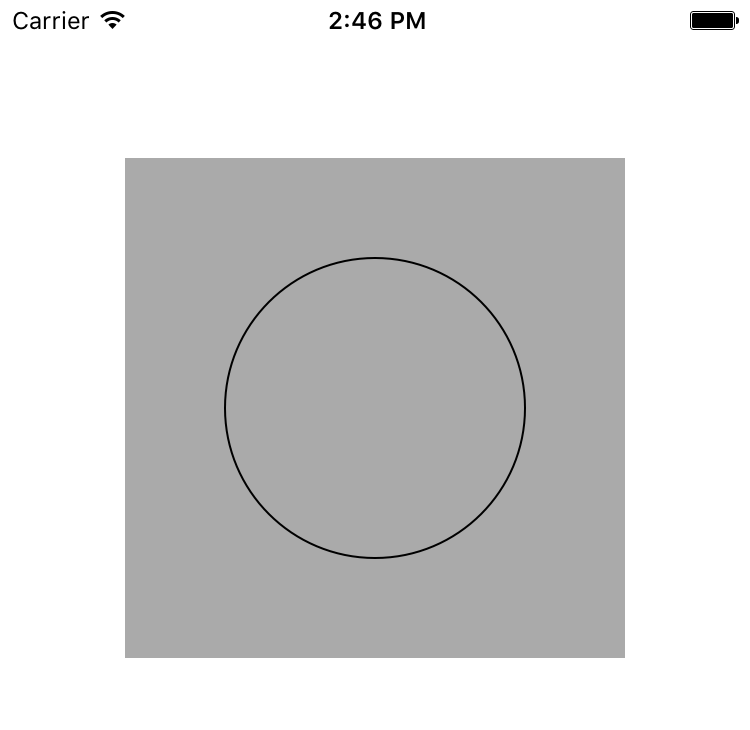
- 这里只放置3种样式的代码, 其他样式可以修改参数, 通过这个方法来绘制正方形, 矩形, 圆角正方形, 圆角矩形, 圆形,等…
椭圆
|
|
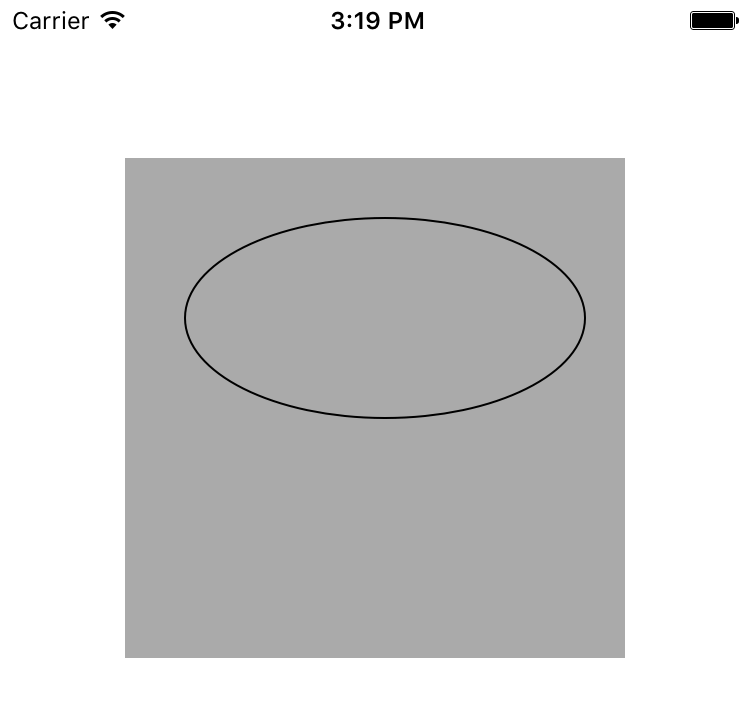
- 用以上方法同样也可以绘制圆形
圆弧
|
|

- 从以上图片可以看出, 开始角度并不是从12点钟方向开始的, 而是从3点钟方向开始的. 所以在绘制圆弧的时候需要注意, 如果需要从12点钟方向开始, 那么开始角度应该是-90度开始
- 在OC中, 已经定义好了一些常用的宏,
M_PI表示180°,M_PI_2表示90°,M_PI_4表示45°.(具体可以跳到头文件进行查看) - 具体角度与弧度互转, 引用至
百度知道的答案弧度 = (角度 / 180) PI
PI就是“派”
比如180度角,转换之后的弧度就是PI,45度的话是四分之一PI。
反过来也一样,角度 = 弧度 / PI 180
扇形
|
|
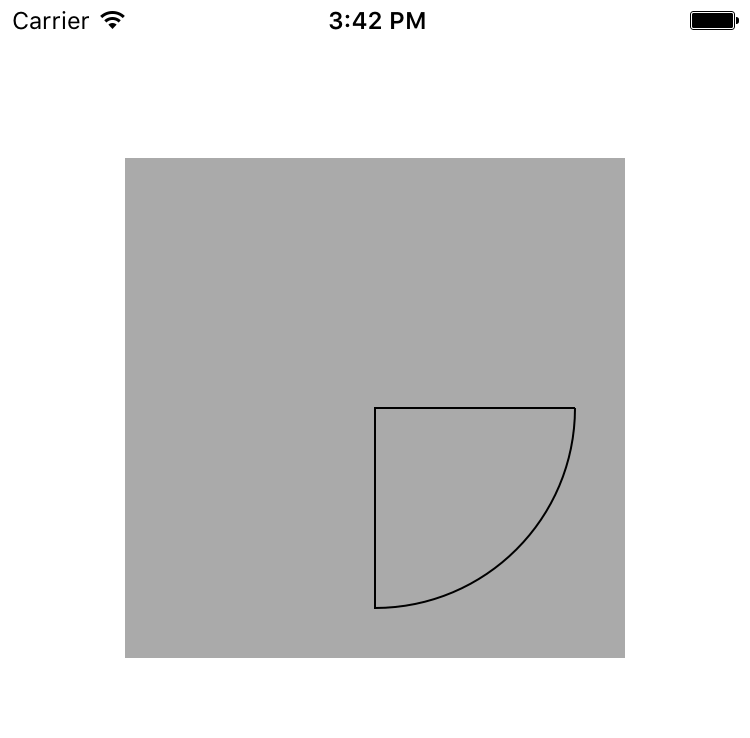
- 从上述代码可以看出, 绘制扇形, 其实就是先绘制圆弧, 然后添加一根线到圆心, 再添加一根线到圆弧的起始点位置, 就组成了一个扇形.
UIBezierPath类为我们提供了更加便捷的方法, 所以在添加第二根线,圆心到圆弧起始点位置, 我们可以直接调用[path closePath]的对象方法, 这样也减少了位置的计算.
扇形的描边和填充
修改描边颜色
|
|
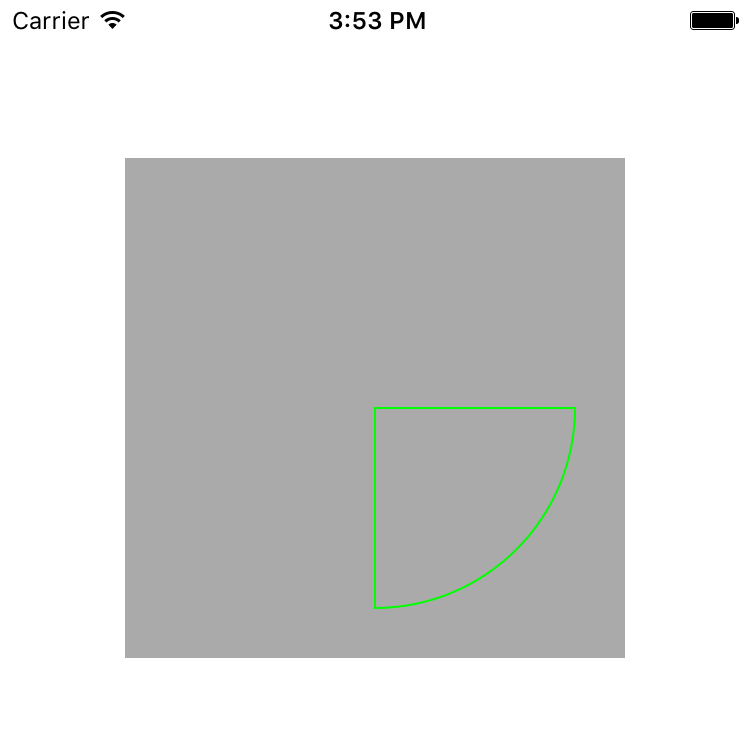
- 在关闭路径后, 绘制之前, 如果我们需要设置扇形的线条颜色, 可以通过
setStroke方法来设置颜色.
填充
|
|
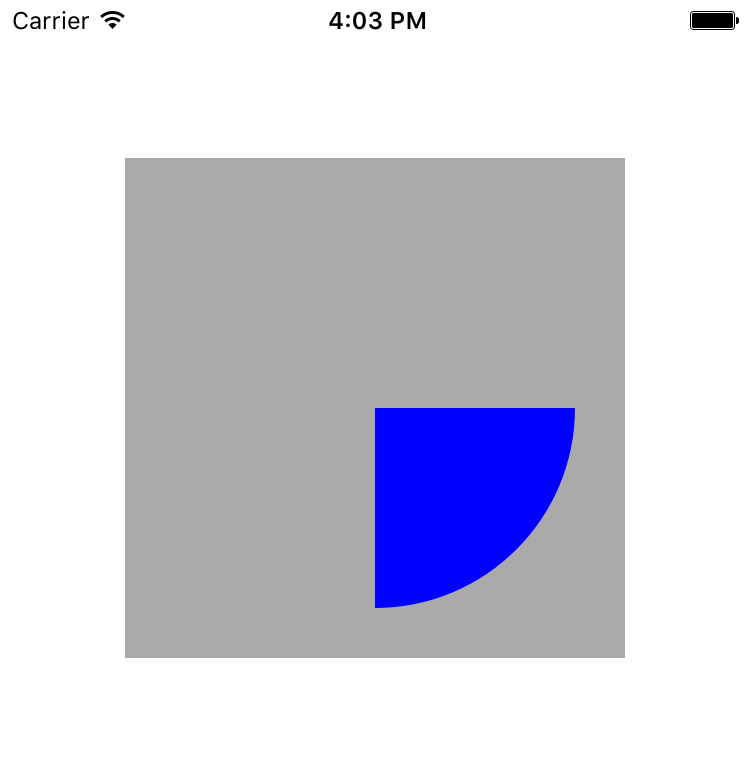
- 如果你是需要填充扇形, 那么可以省略关闭路径这一步骤
closePath - 并且不再是调用
stroke方法, 而是调用fill方法
同时填充和描边
- 如果你需要同时填充和描边扇形, 那么
UIBezierPath并没有帮我们封装类似的方法, 所以我们还是需要使用CoreGraphics框架中的C语言函数来实现.
|
|
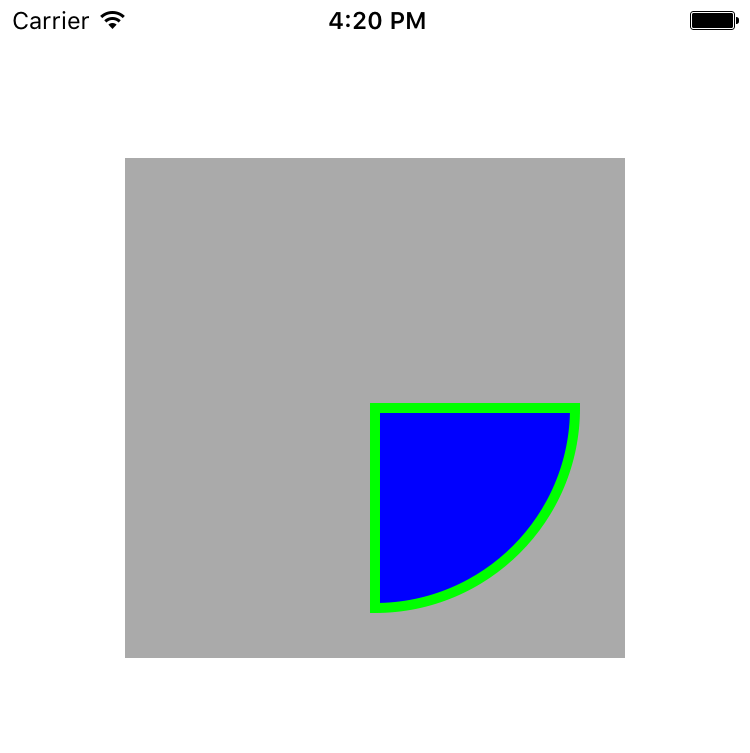
- 这里是需要关闭路径的, 不关闭会有问题. 你可以试试注释掉关闭路径的代码.